This post is about a challenge I did from a course on LinkedIn Learning. I am learning Photoshop, which is a powerful software that allows the user to manipulate images. In this challenge, I had to combine textures with a photo using blend modes and layer masks.
Above: LinkedIn Learning
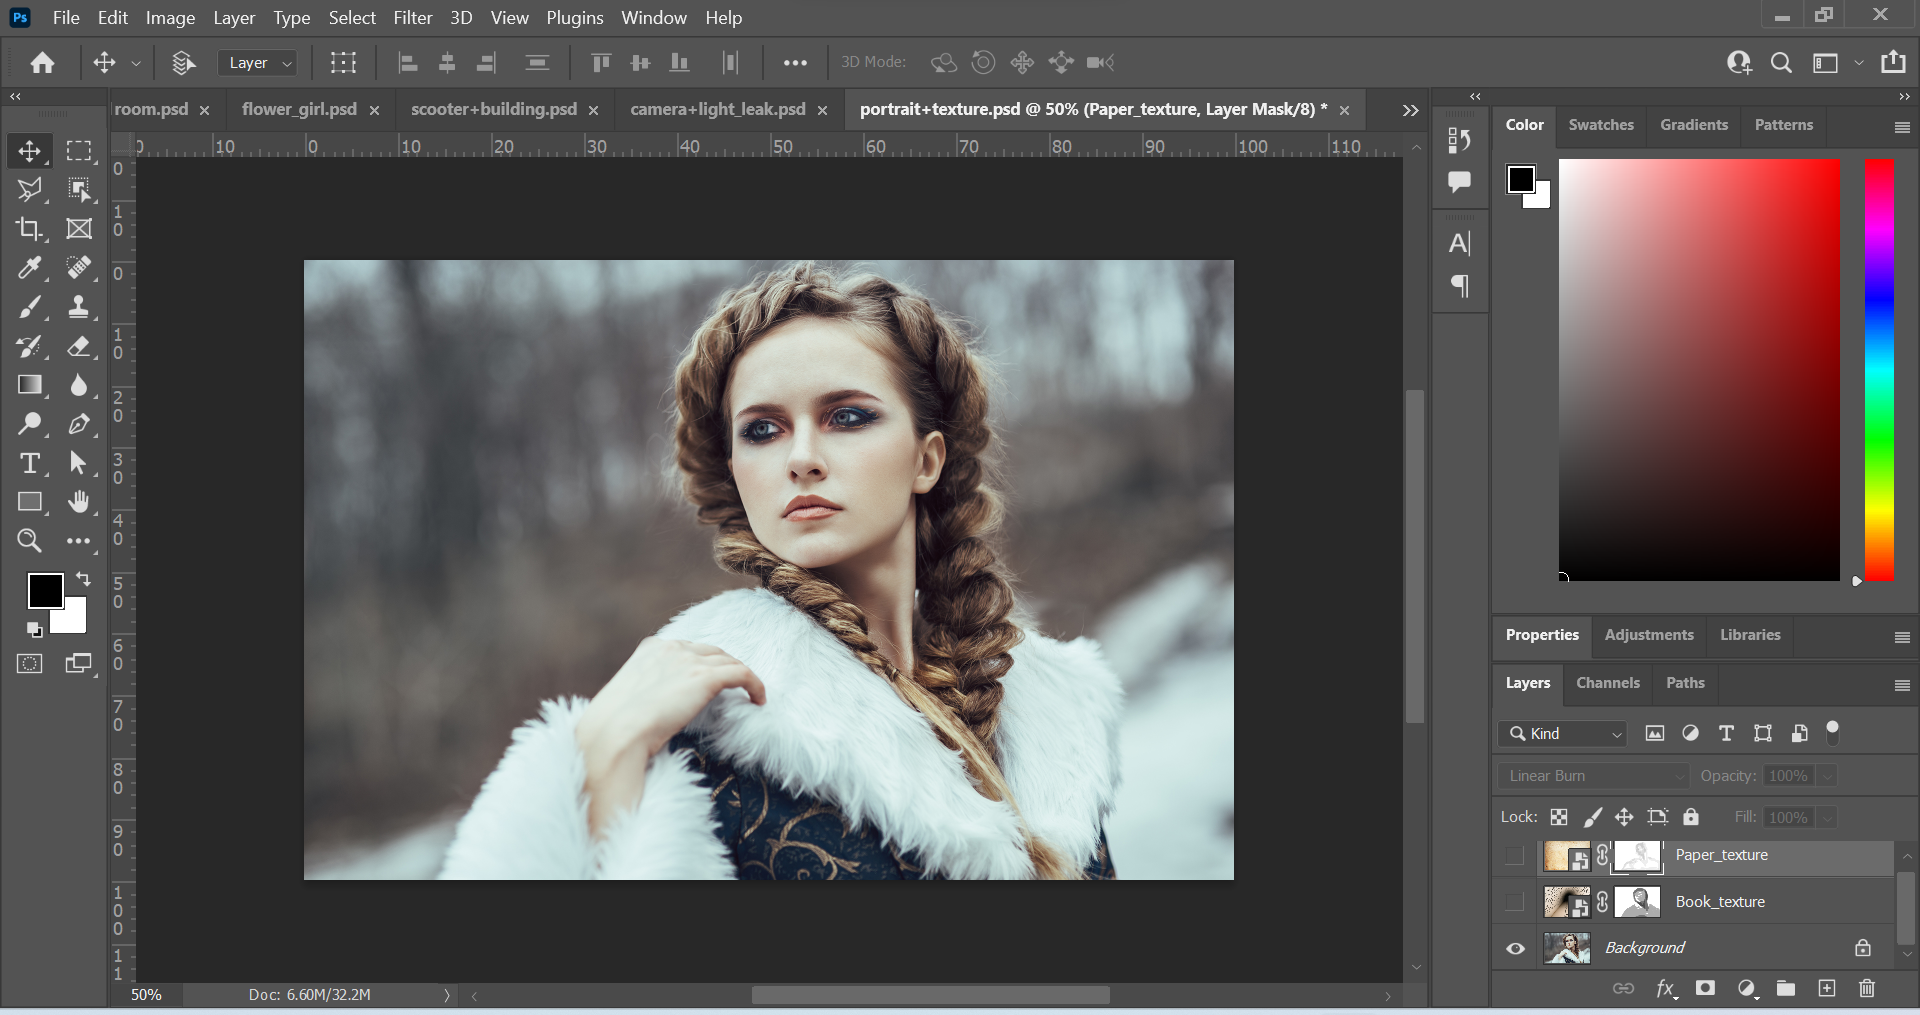

Above: Screenshots of Original Images in separate layers.
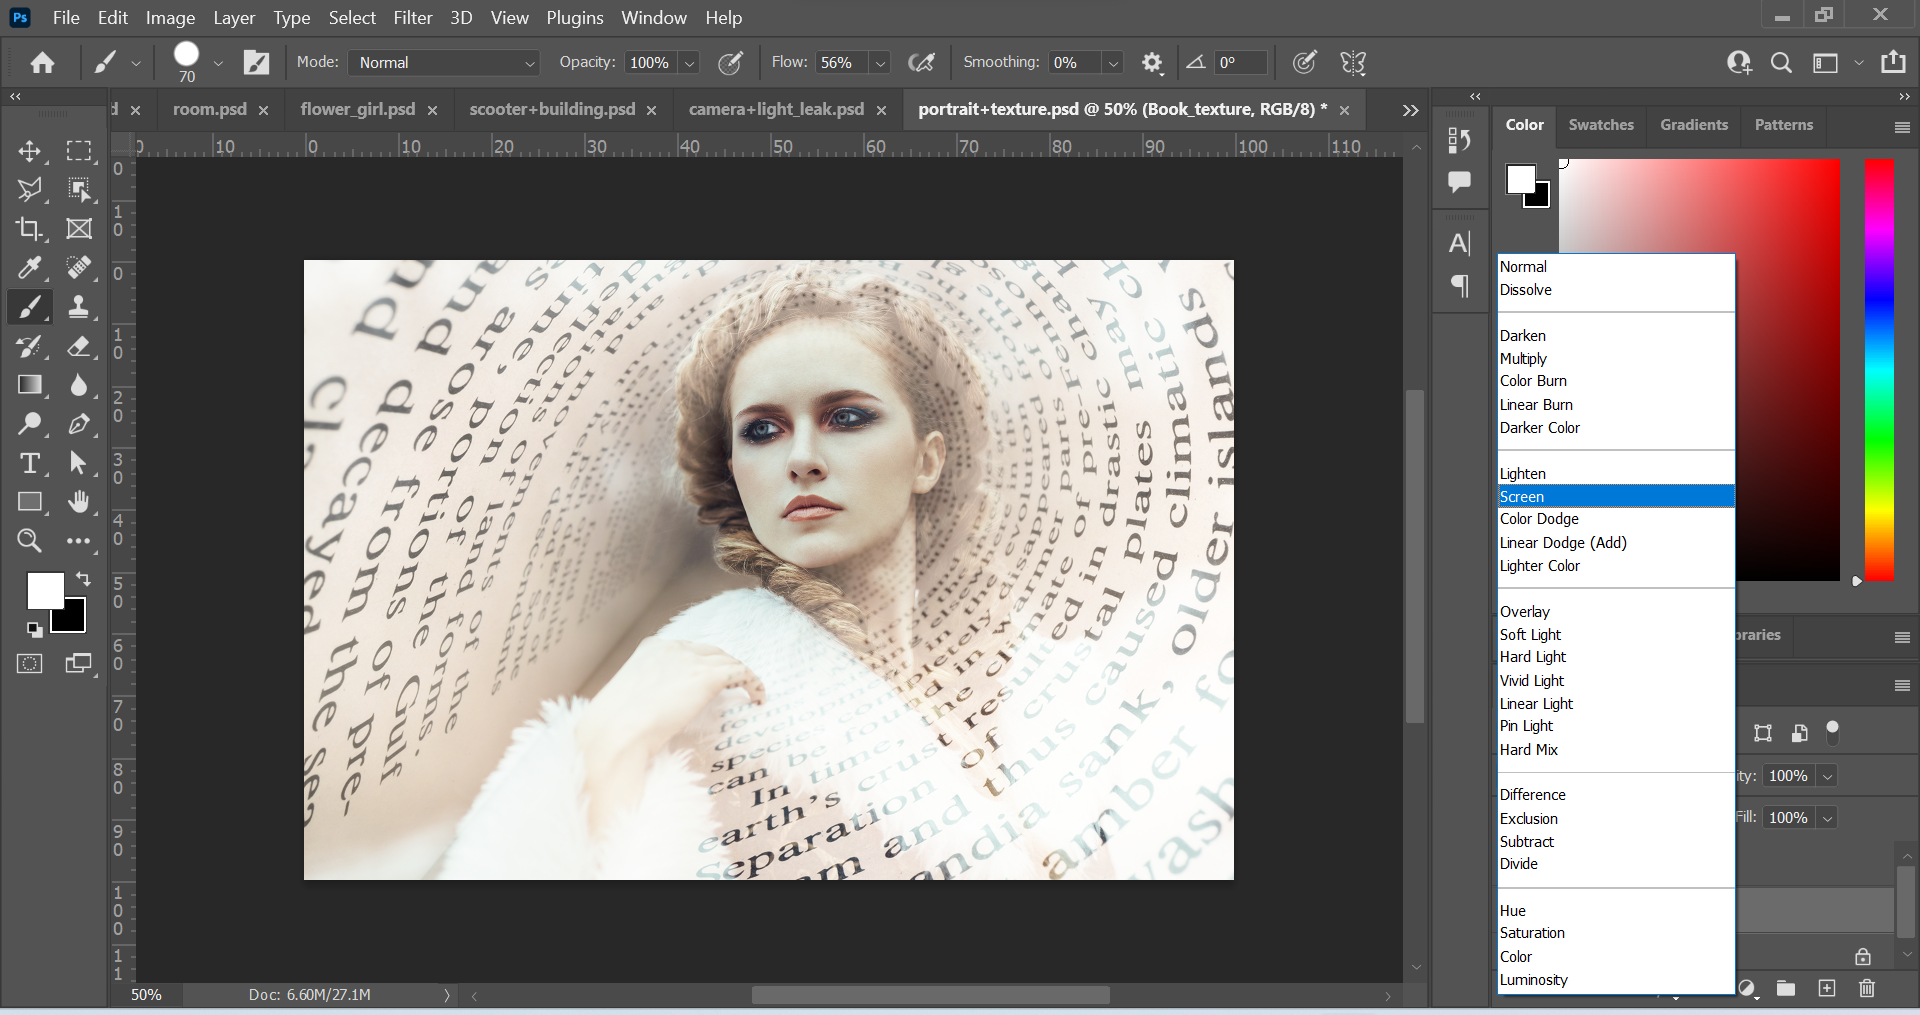
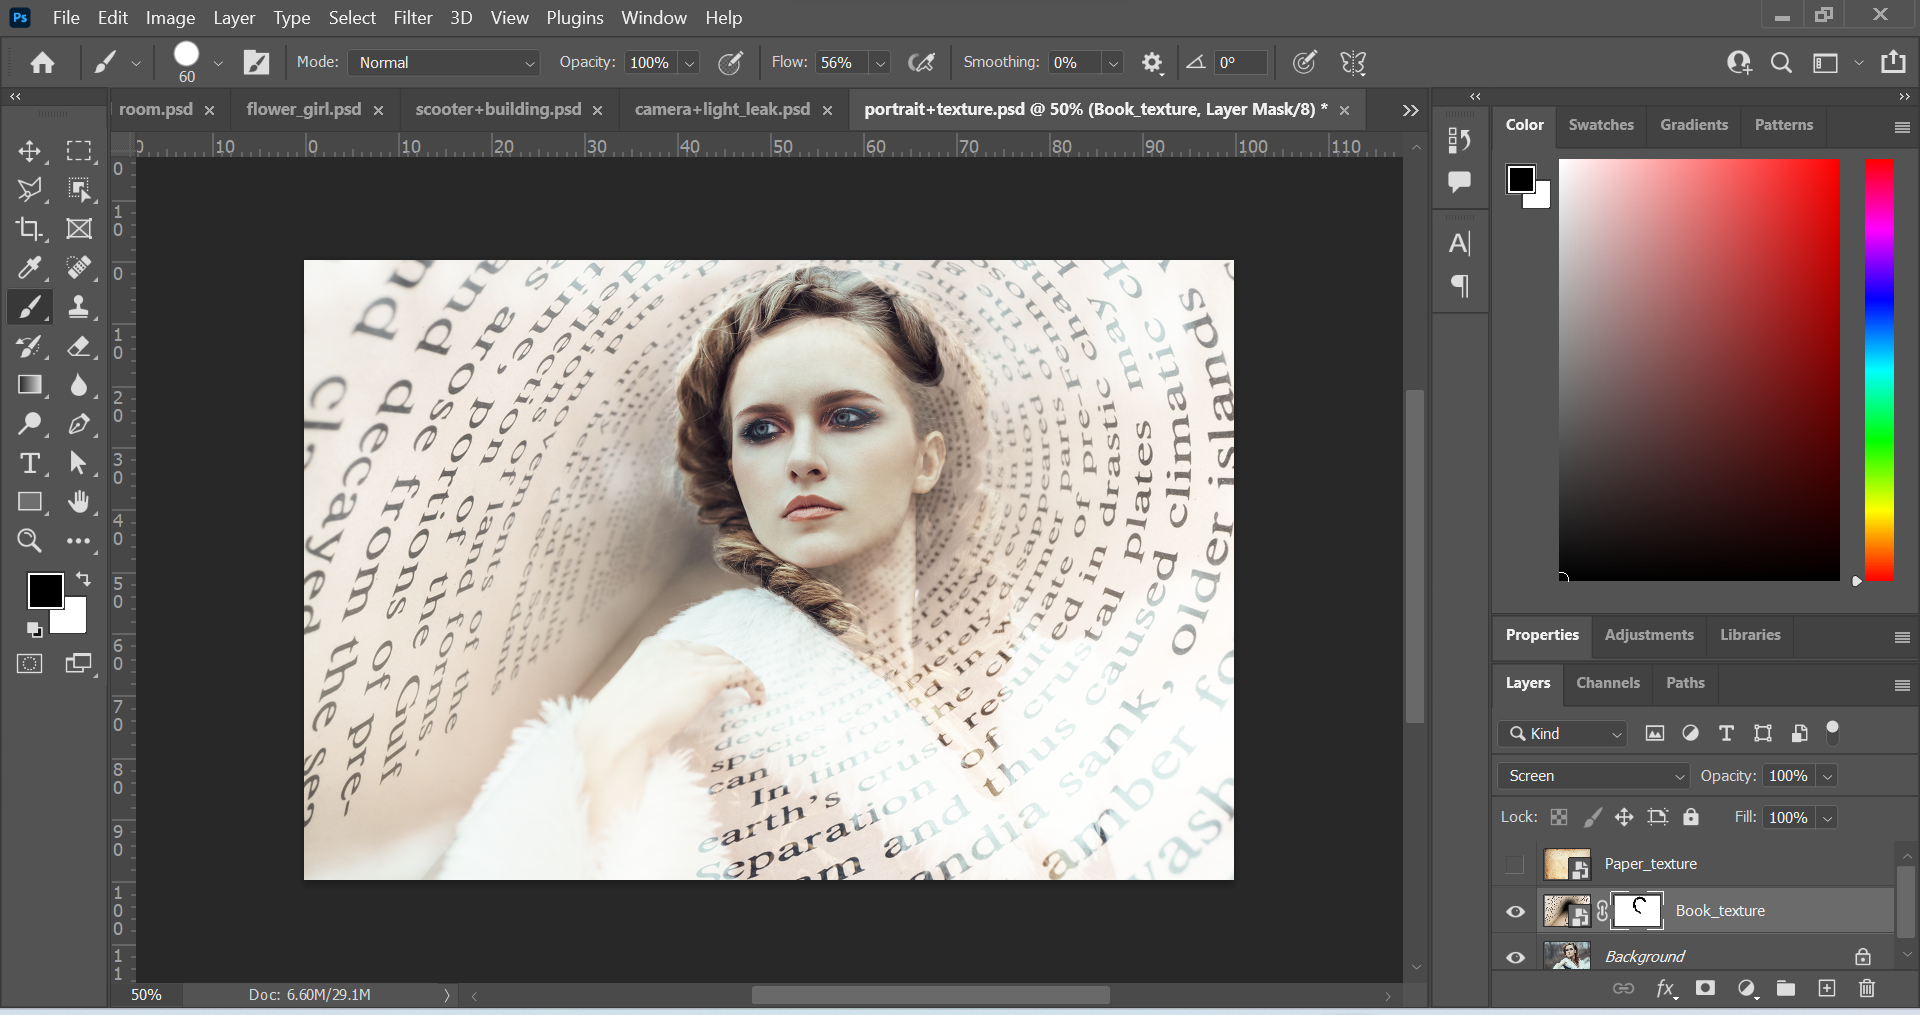

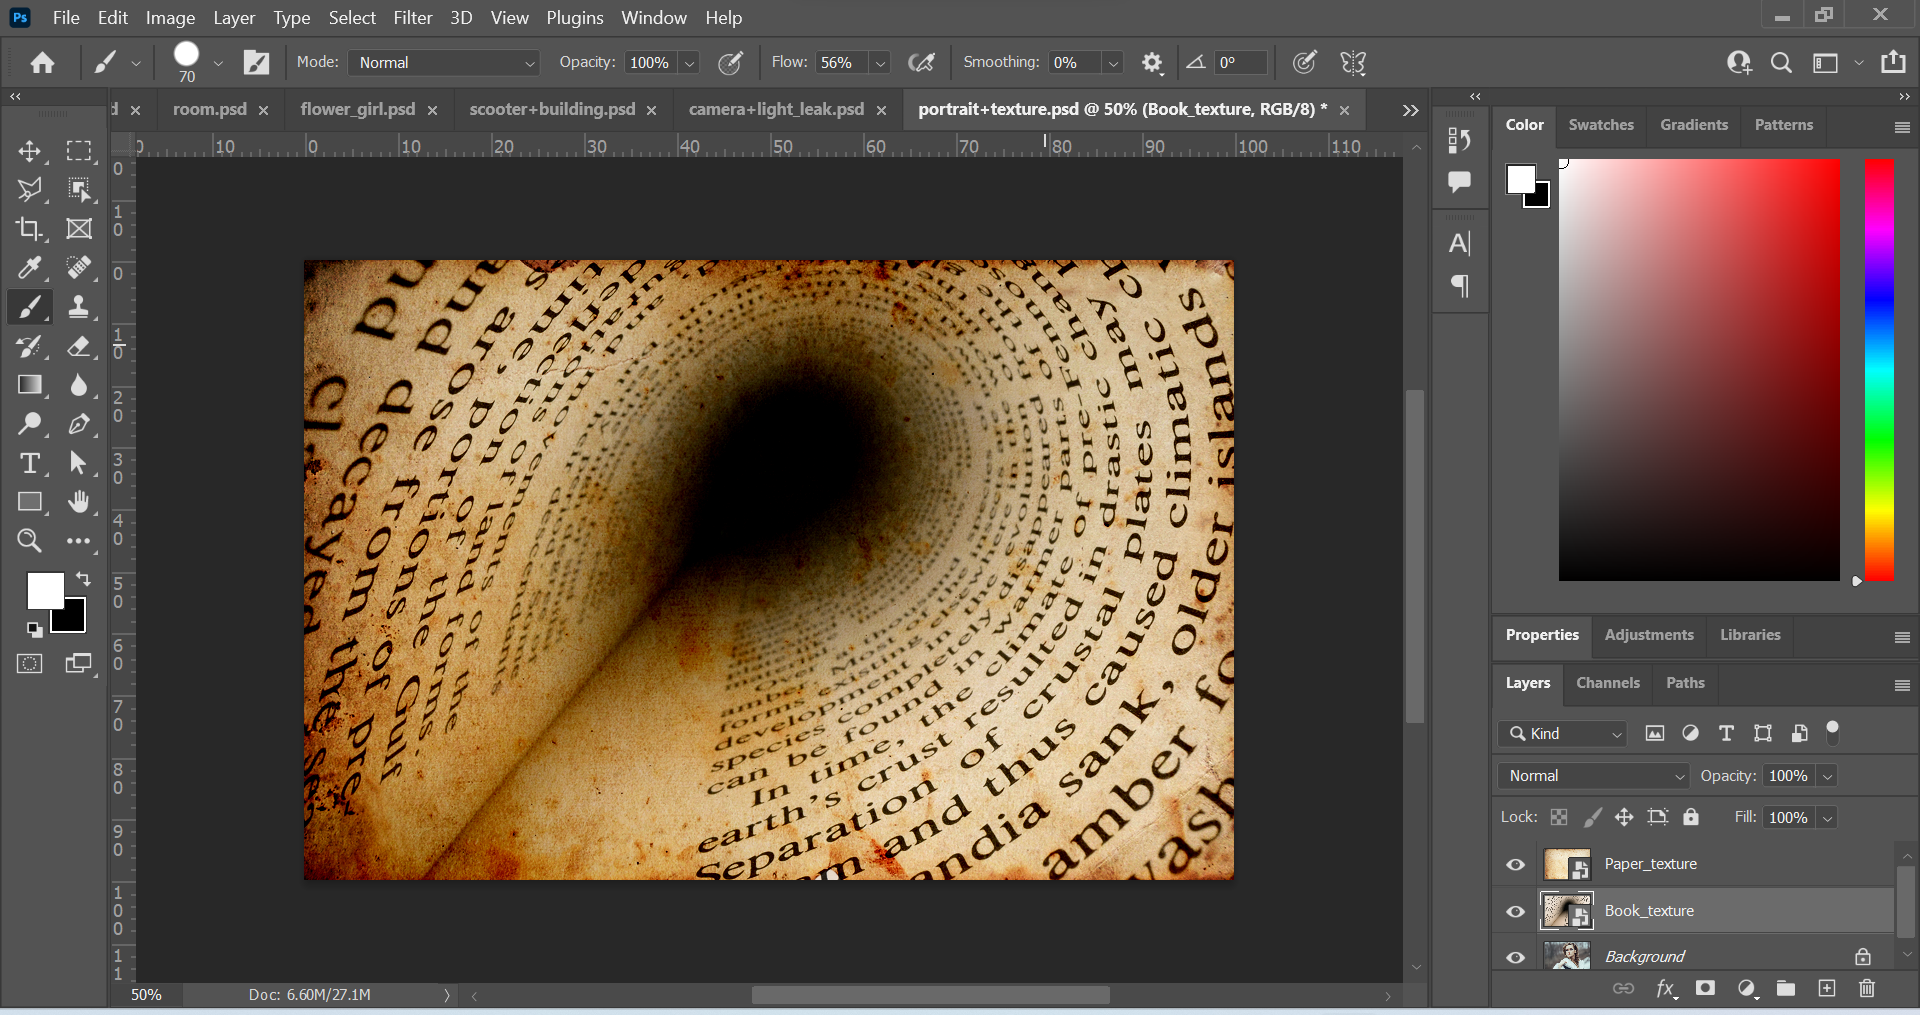
Above: Screenshots of edited images. The first thing I did was change the Book_texture layer into a different blend mode. I changed the mode from Normal to Screen. This created a slightly transparent look, where the woman in the image was visible. Next, I made the Book_texture layer into a layer mask by clicking on the rectangle icon with the circle in the middle at the bottom of the layer panel. Then, I used the brush tool to remove parts of the texture. I wanted to reveal more of the woman’s face, hair and overall appearance. I used black paint to remove elements of the image and this created a focal point.
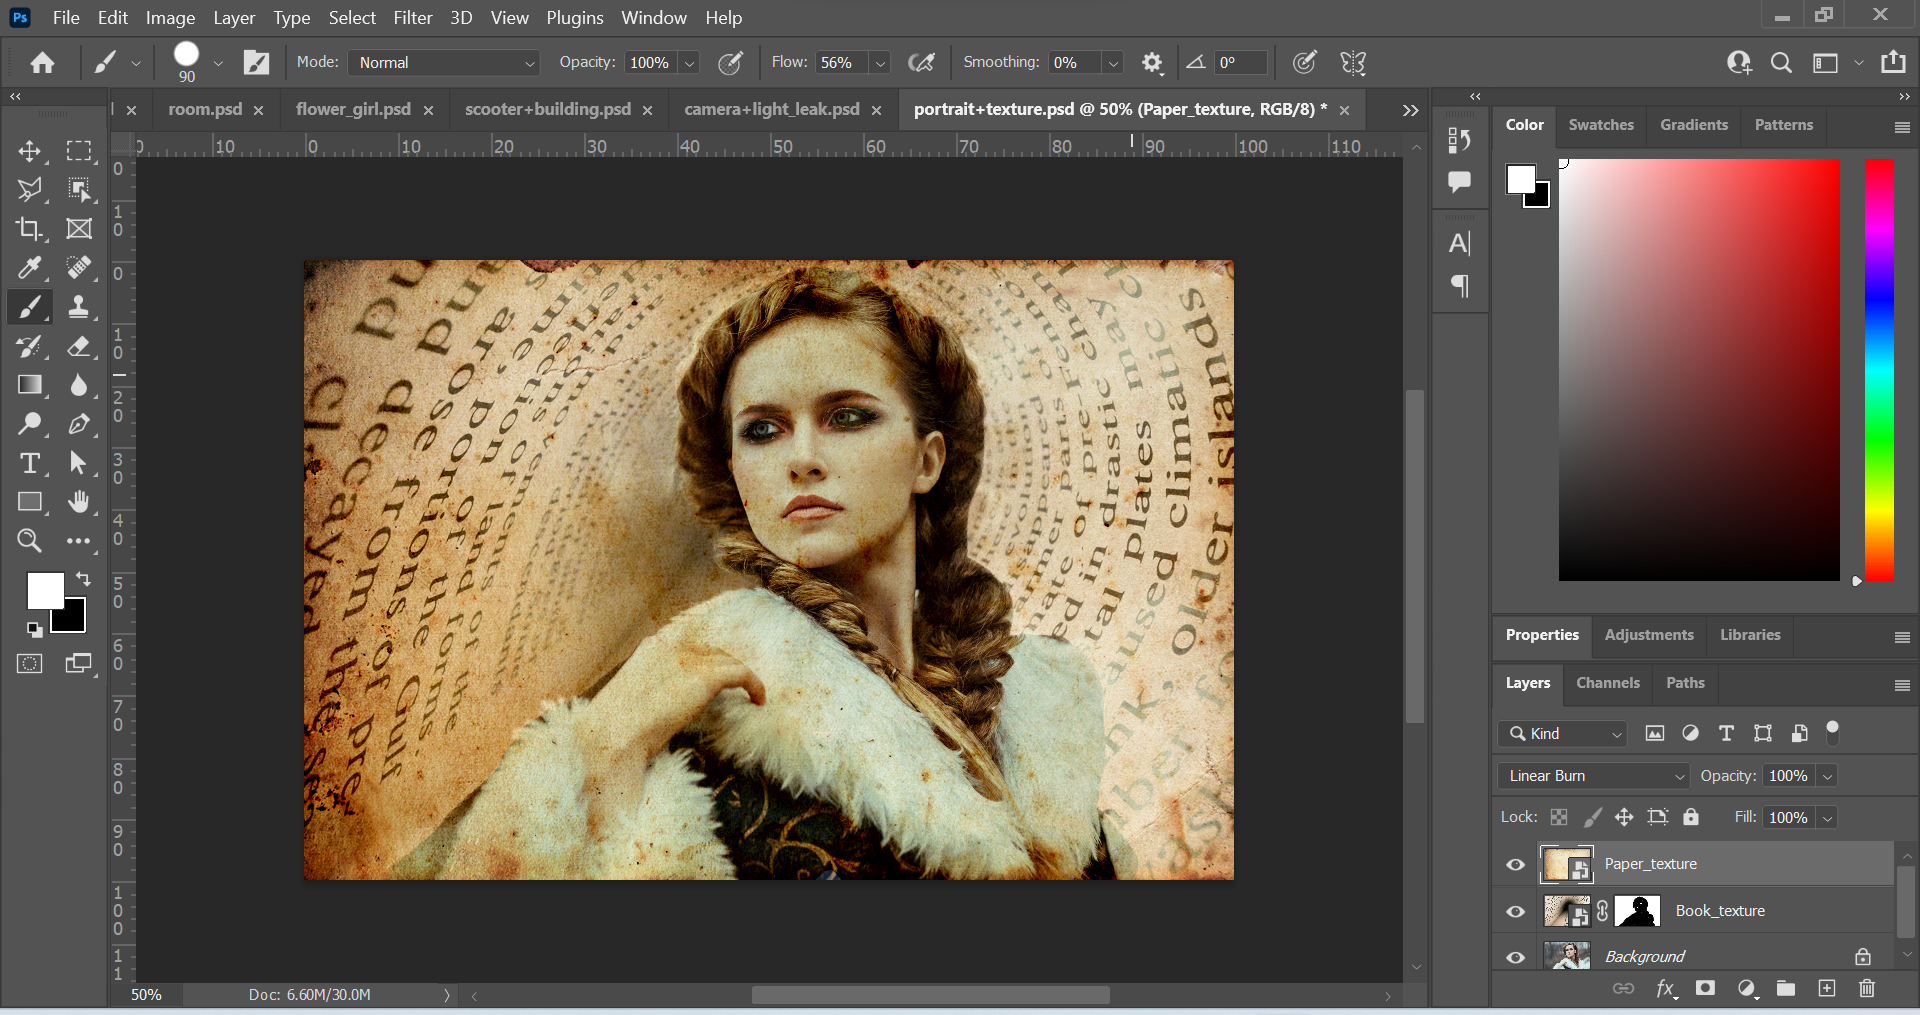
After this, I worked on the Paper_texture layer by changing the mode from Normal to the Linear Burn mode. I liked this as it created a sort of vintage look. I made the layer into a layer mask and removed parts of the image with the paint tool. This time, I lowered the opacity of the brush tool so that the colour was grey and not black. I wanted to do this so that when I used the brush tool to remove parts of the image, it would be subtle. I created a brighter effect around the woman by doing this.

Above: Final Outcome
Conclusion
It was great to learn about blend modes and layer masks. It was also great to put it into practice. I look forward to learning more things in Photoshop.
